How to Build A Simple Desk
How to build a simple desk:
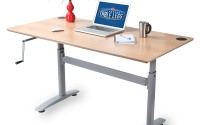
As mentioned in our earlier blog, “Table Leg Height Differences For Desk, Counters, and Bars.” table desks are becoming more and more popular, and it just so happens that they are pretty easy to build. Just follow the steps below to learn how to build a table desk.
Materials you’ll need:
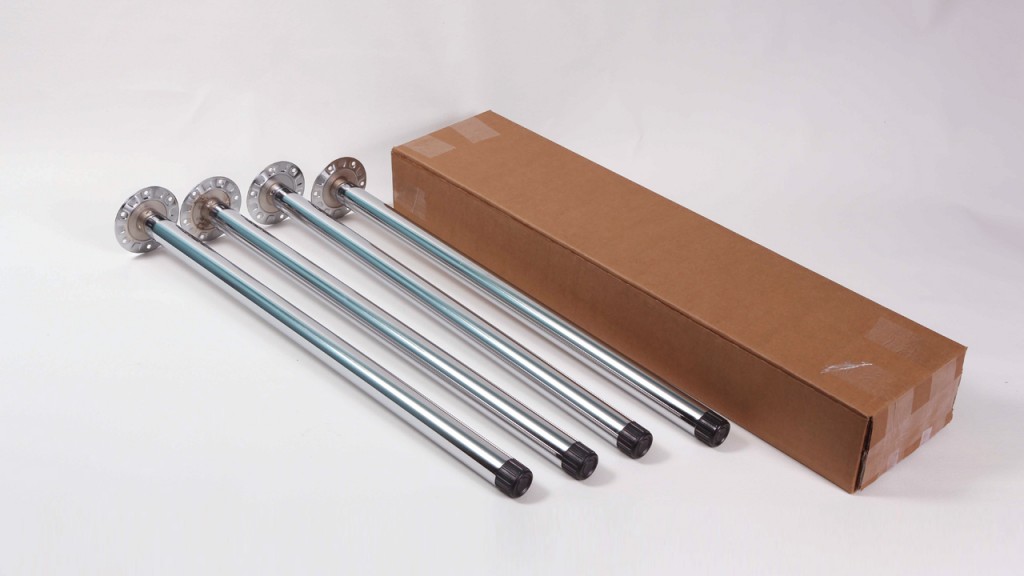
- Set of 4, Slim Legs SKU: 380-70-C1 (Mounting plates included with purchase)
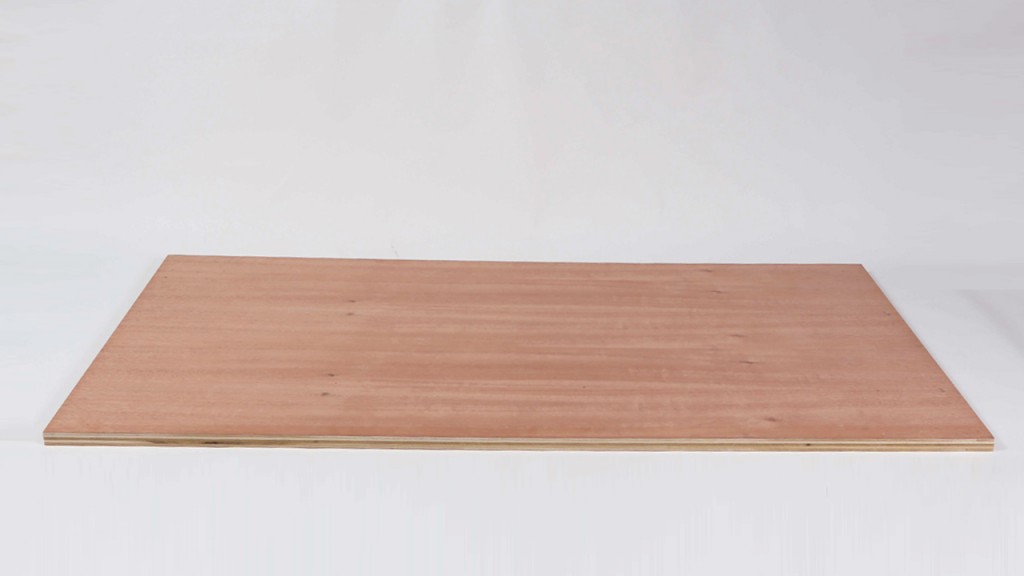
- 3/4”x 2 ft.x4 ft. PureBond® Mahogany plywood (cost-effective and formaldehyde-free to eliminate the concern of off-gassing toxic fumes) You can buy it online at Home Depot.
- (24) 3/4in screws 4mm head
- (24) Lock washers
- Wood stain – clear satin
- Bristle brush
- Drill- Make sure drill bit is smaller than the screw width.
- Pencil
For creating the silver trim detail:
- Valspar interior latex Bare wood primer
- Valspar Metallic Spray paint
- Painters tape
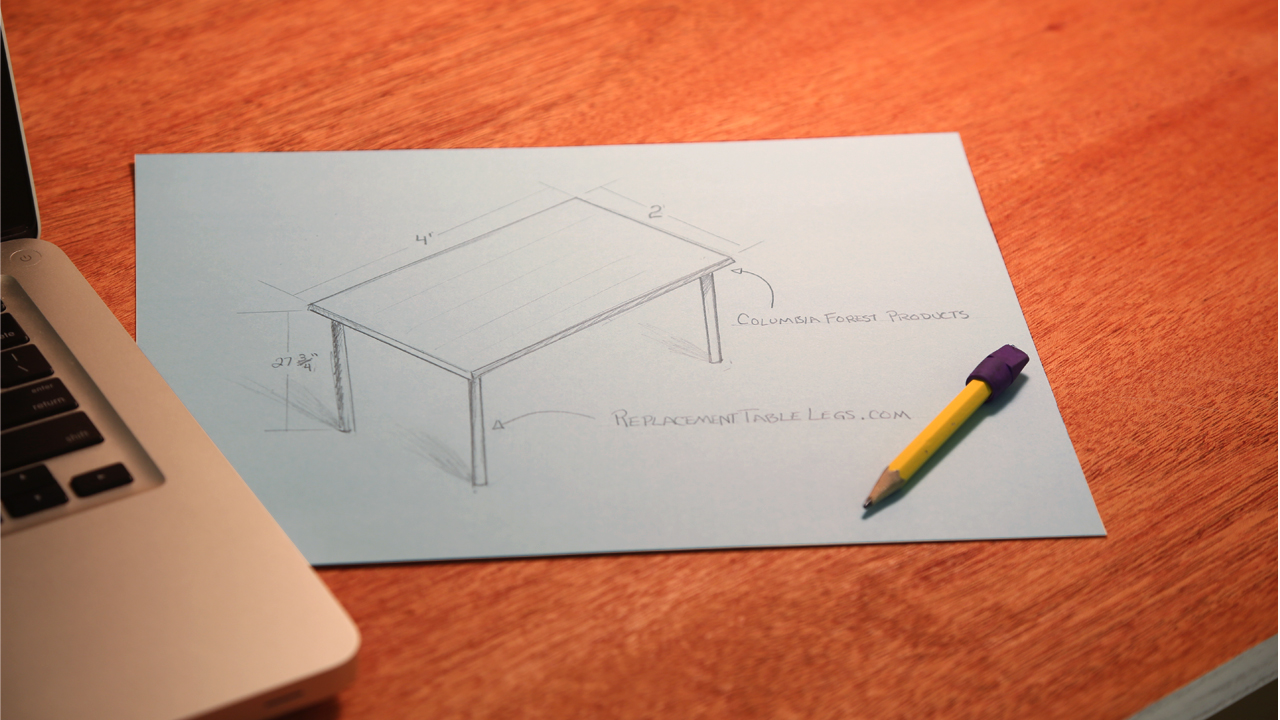
Step 1: Measuring
Remove all 4 Slim Legs from their box.
 Take your PureBond® 2’x4’ wood sheet and lay it down flat.
Place (1) Slim Leg in the corner of your 2’x4’, so that there is a 2-inch distance from the edge of the wood to the edge of the actual table leg.
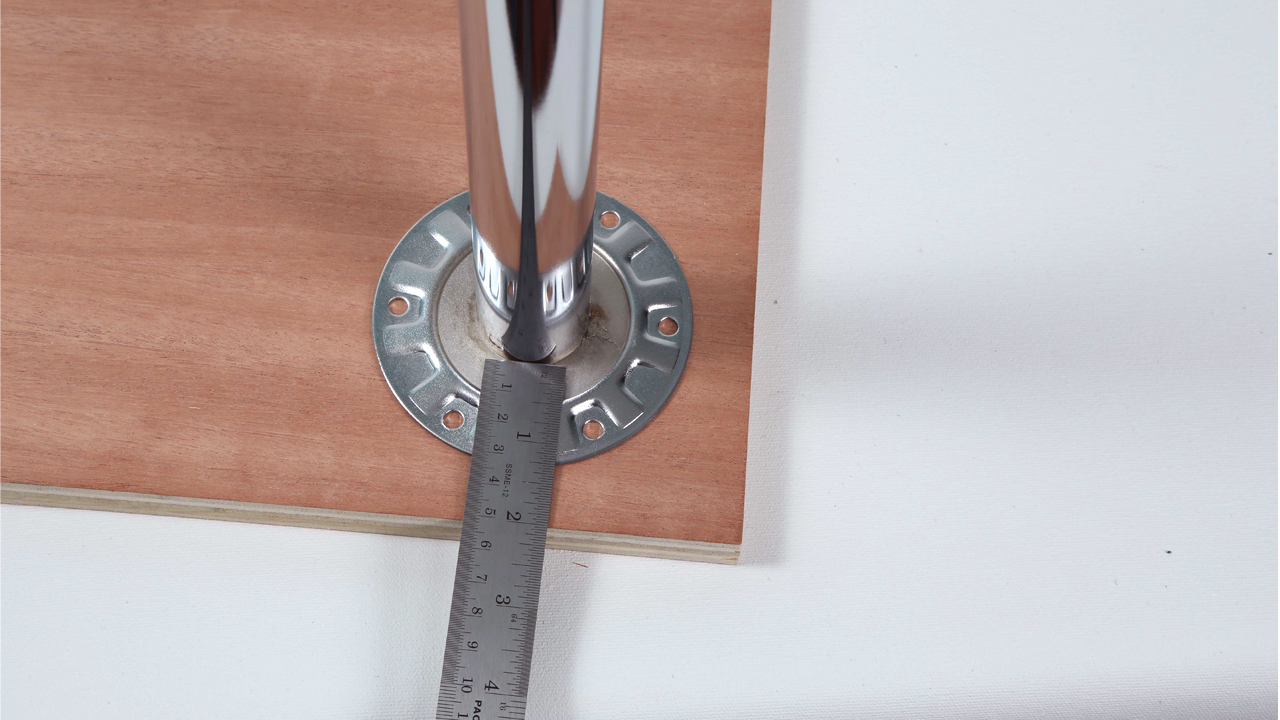
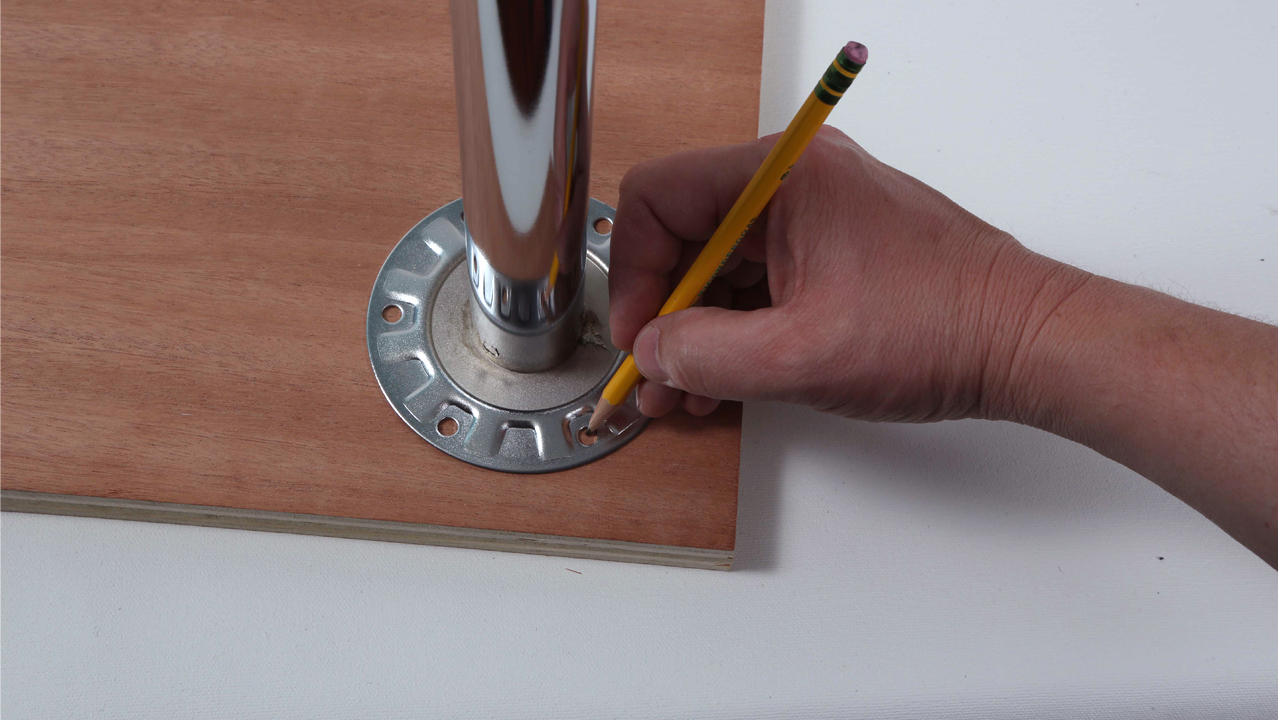
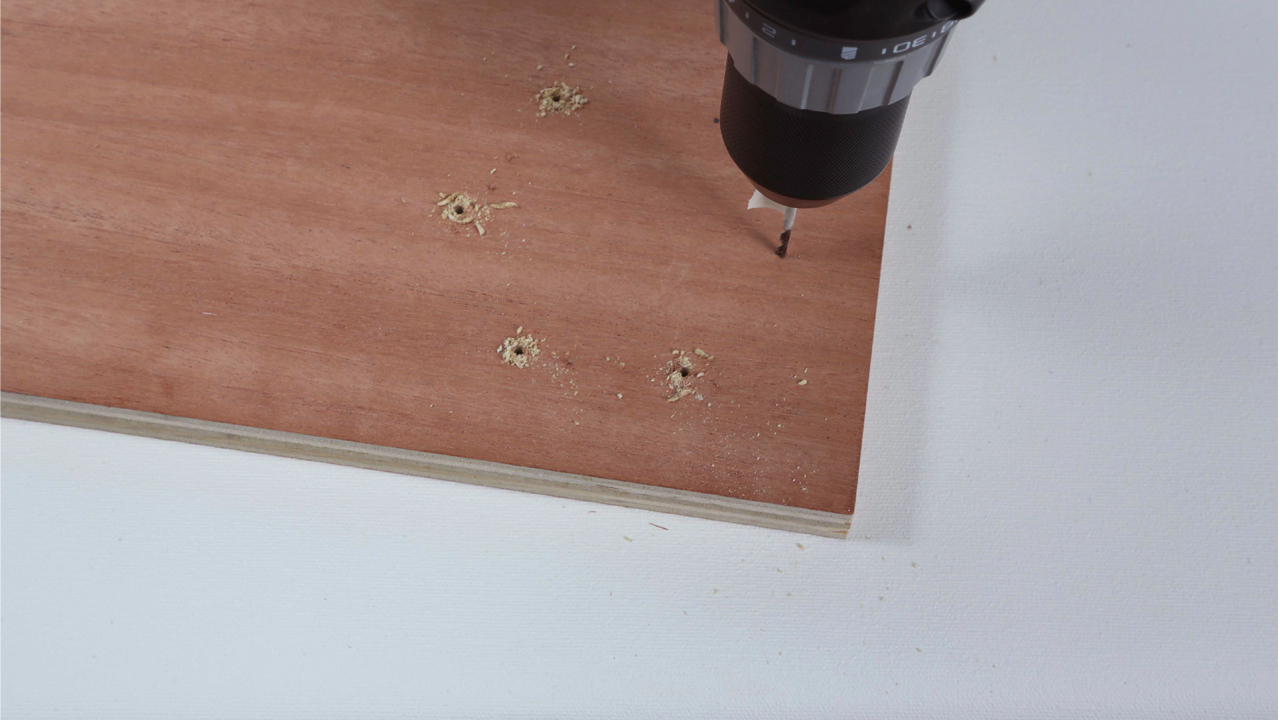
Take your pencil and put a dot in the center of each screw hole of the leg mounting plate to mark your drill holes. Repeat this process for the other three corners of your wood sheet.
Step 2: Drilling
After marking your drill holes, grab your drill and bit set. Choose a bit size that is smaller than the width of your screw.
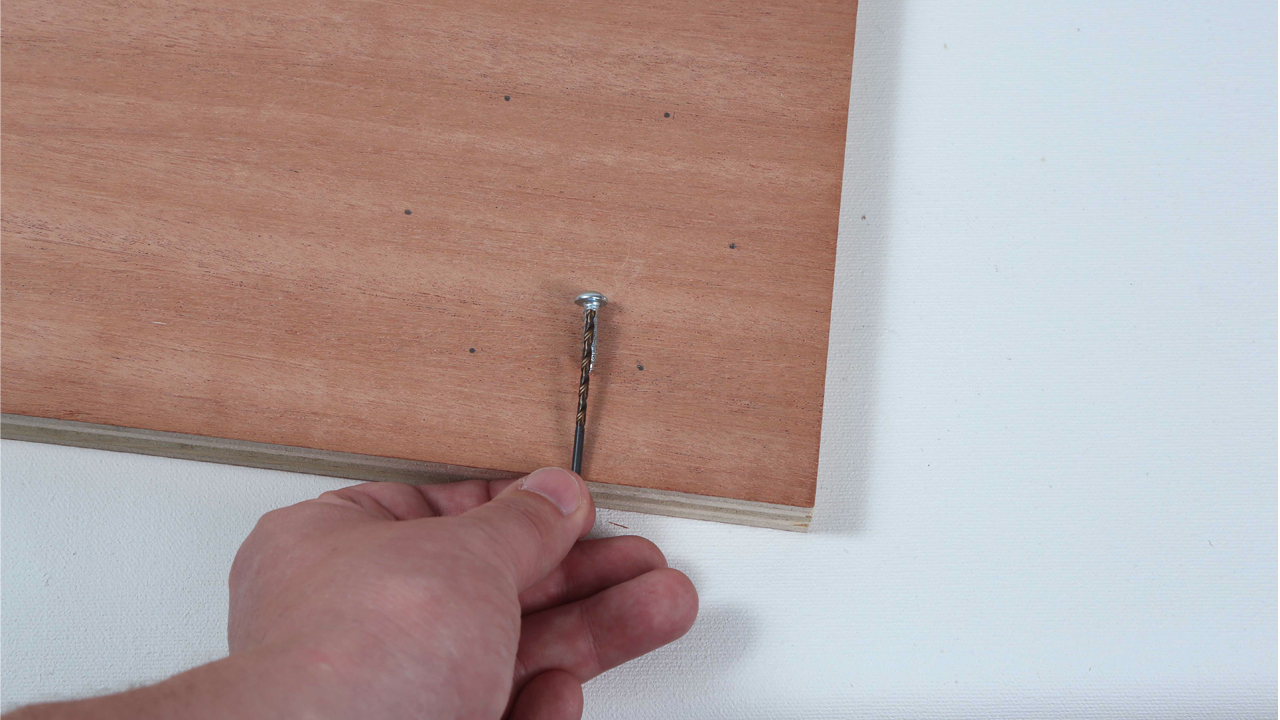
Before drilling, hold your drill bit against the trim of your PureBond® 2’x4’ so that it is not quite touching your work surface (About ¾ the distance between the top of the 2’x4’ to the bottom). Then take a piece of tape and wrap it around the part of the bit piece that sits directly above the top of the wood sheet. This is your marker for how deep to drill your screw holes.
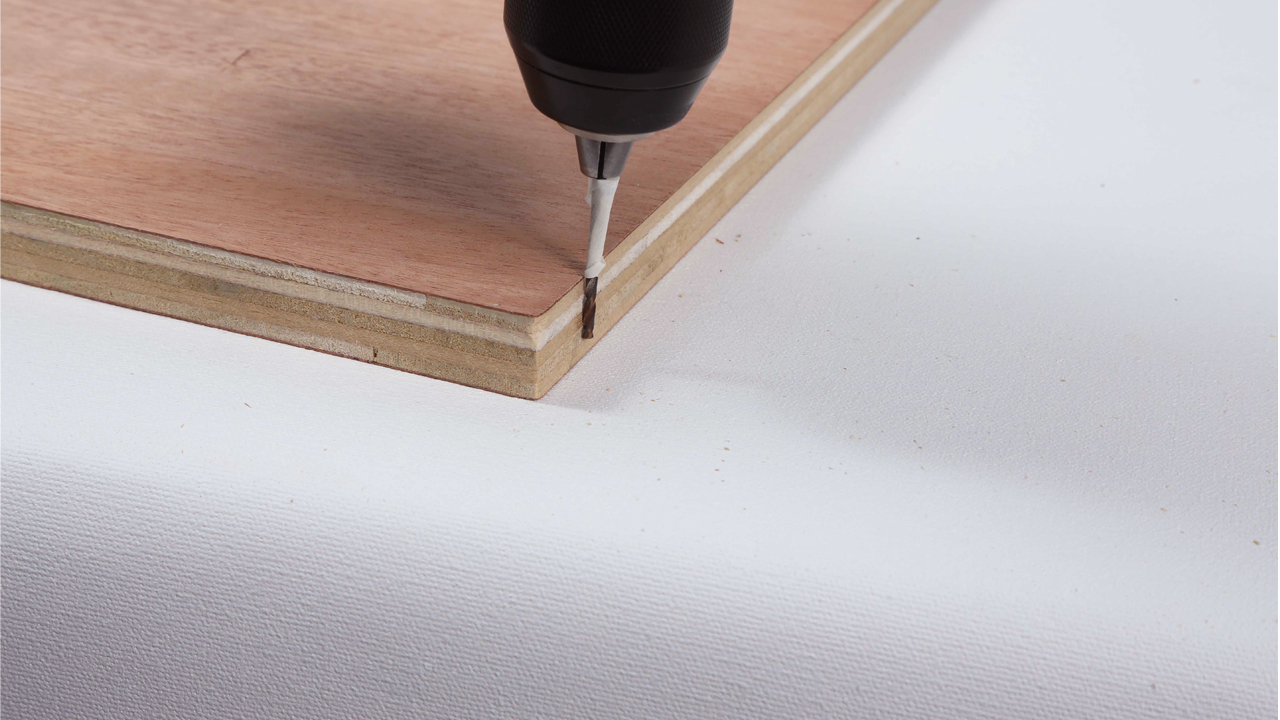
After you have positioned the tape around your drill bit, begin drilling the holes for your screws.
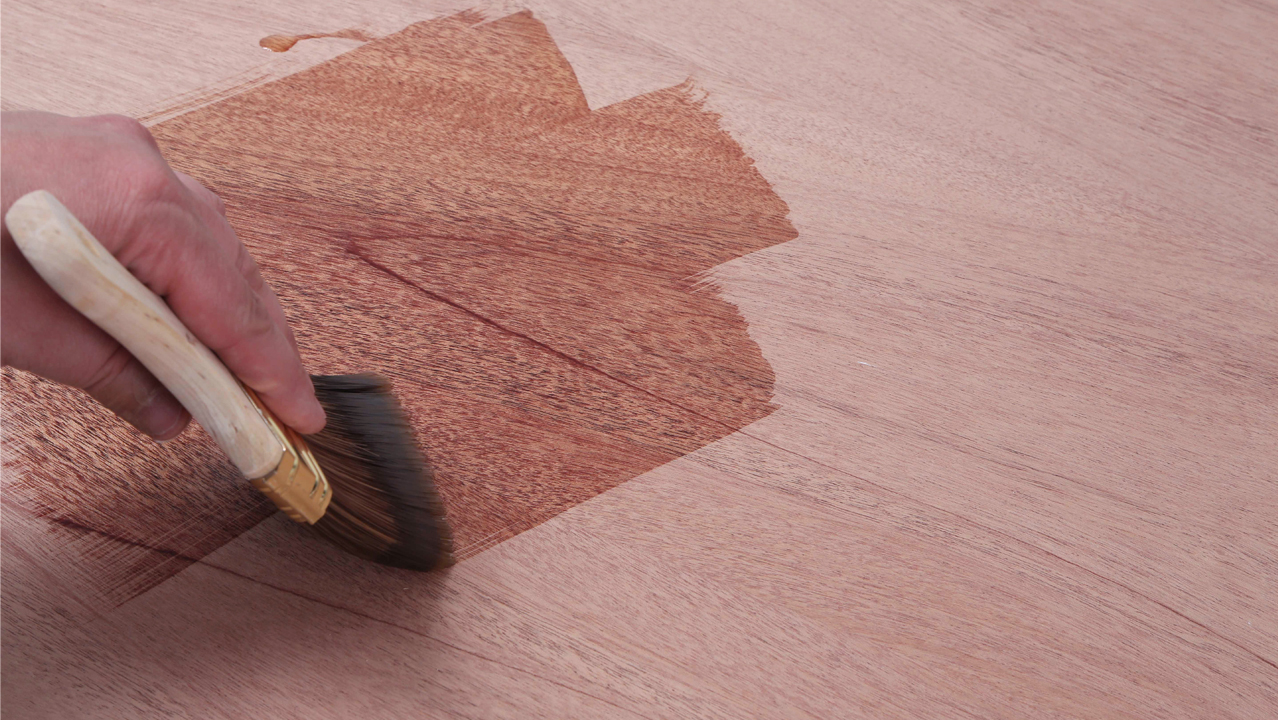
Step 3: Staining the wood
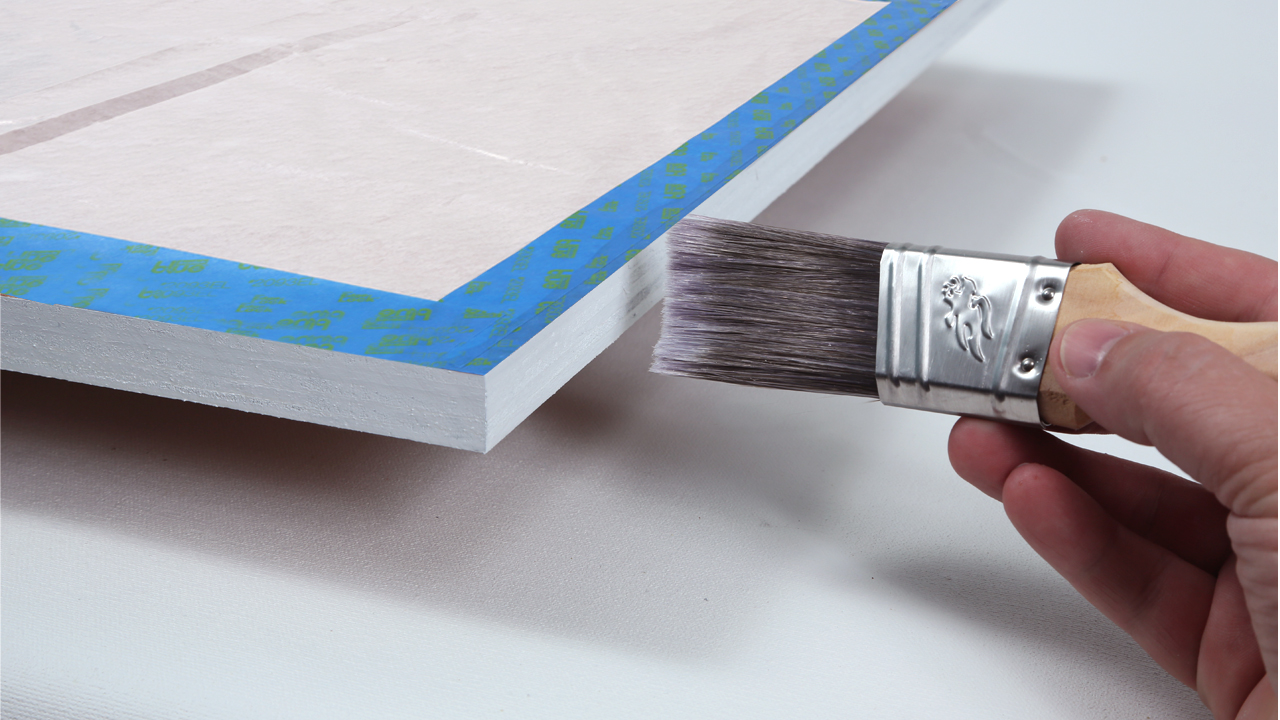
Once you have finished drilling all the screw holes, grab your brush and wood stain. Before staining make sure the wood sheet has a clear, clean surface. Begin adding an even coat of the wood stain until you have covered all sides of the wood. Let it dry.
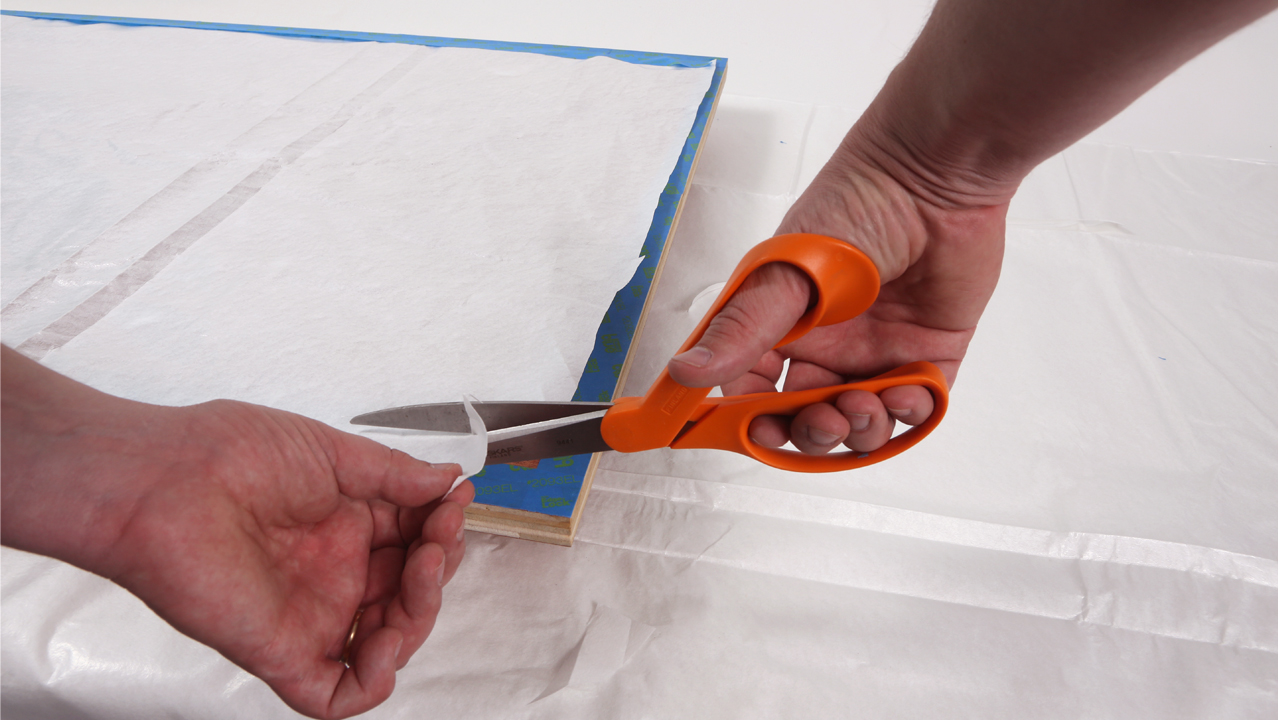
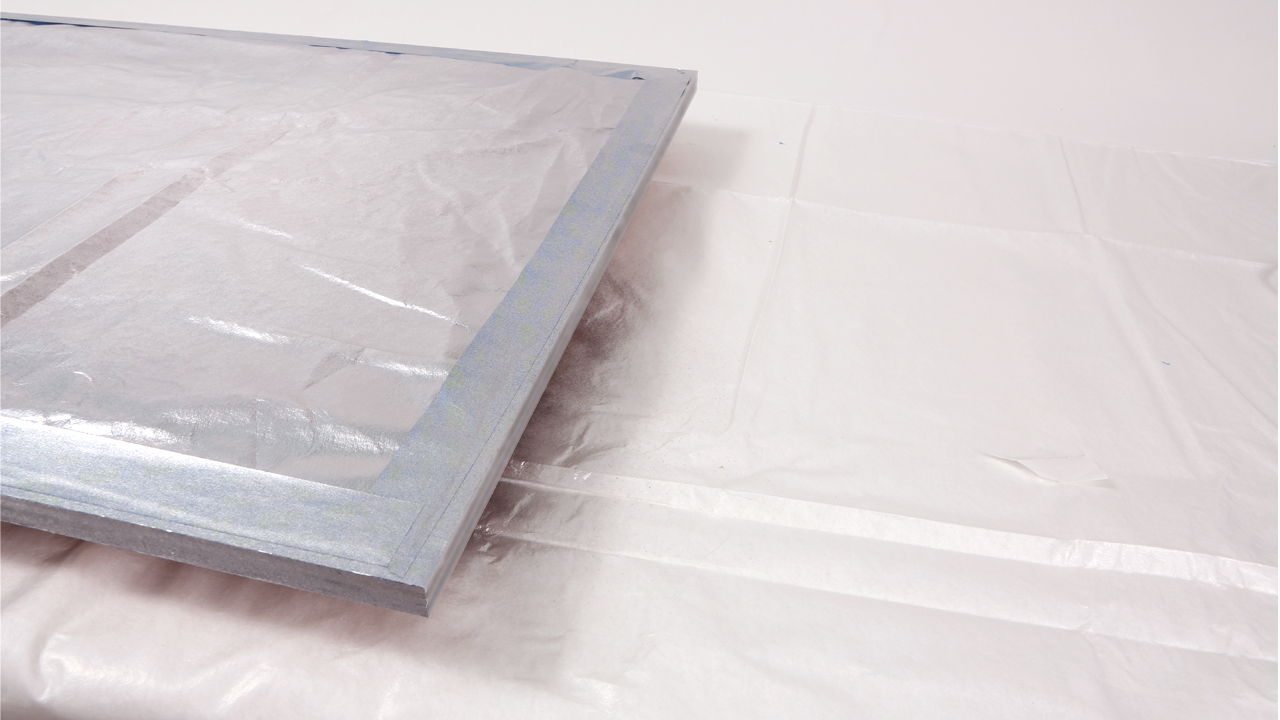
Step 4: The silver trim
Since we are only painting the trim, you want to make sure the table’s top and bottom is protected. Lay down some paper on the wood and tape the edges with painters tape so that you have a nice clean line along the edge.

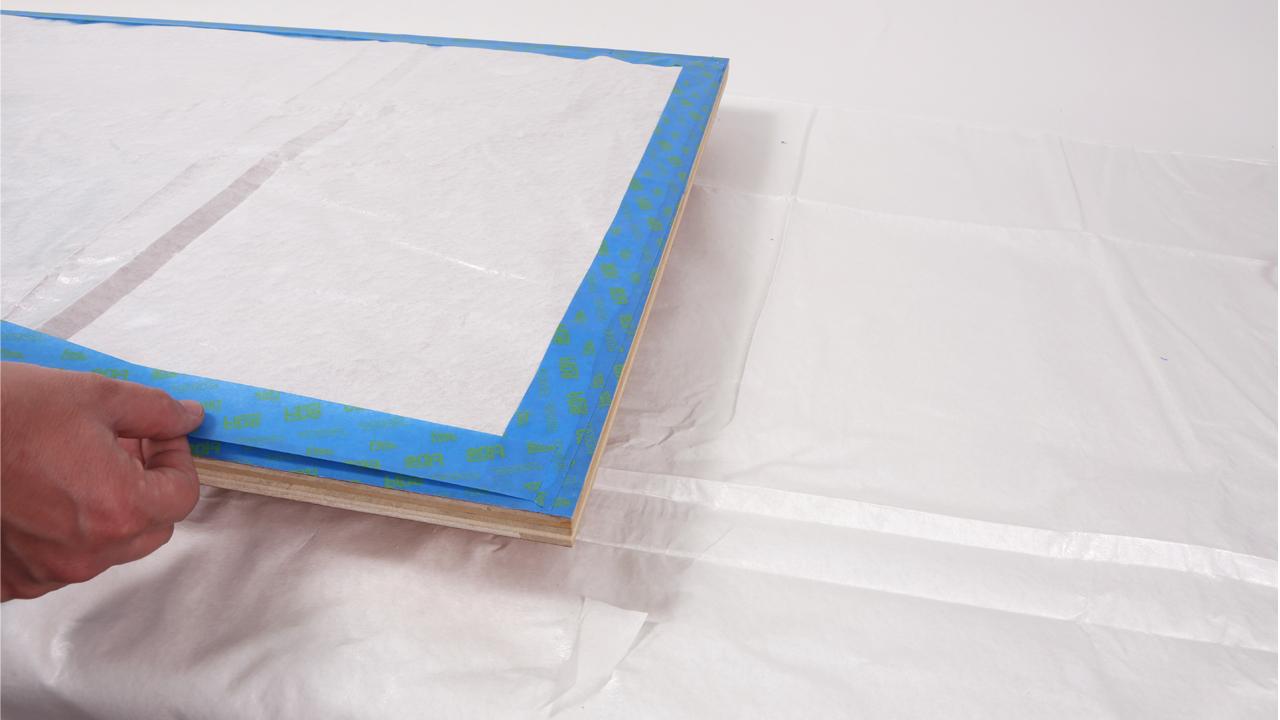
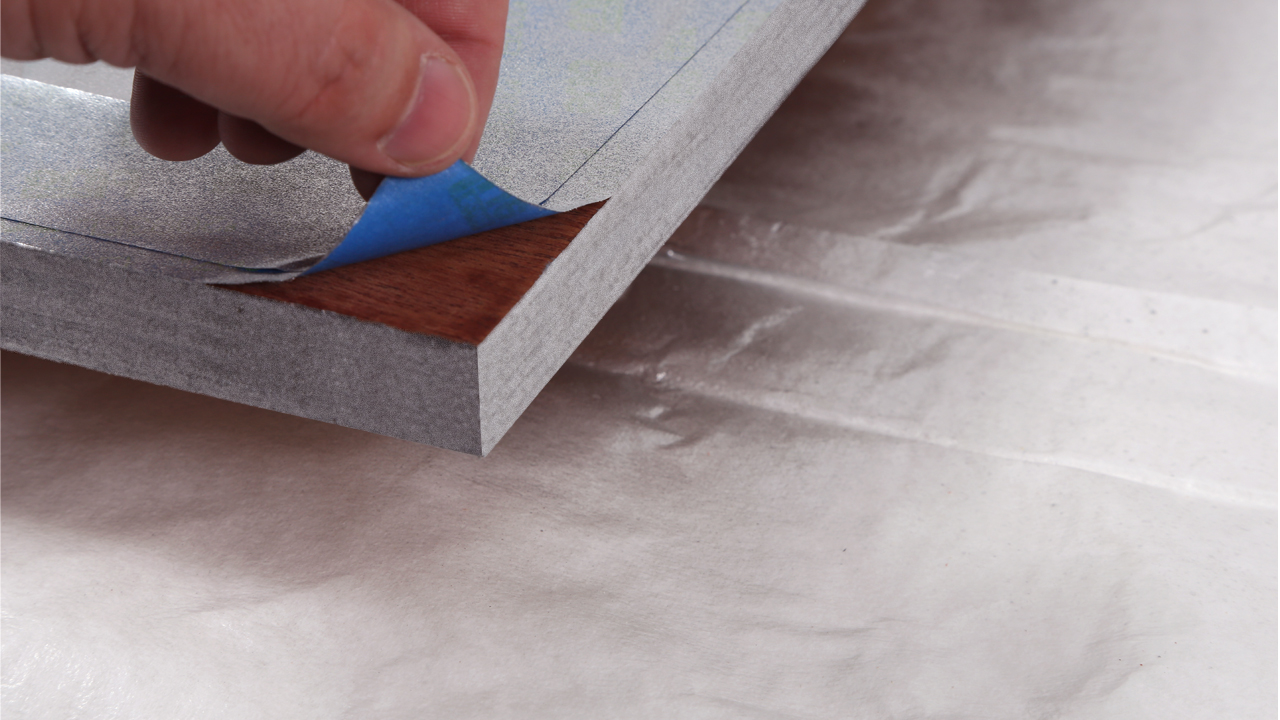
Take your primer and paint the trim until you have a nice even coat on all 4 sides.
Once dry, grab your Valspar metallic spray paint and spray an even coat over the primer. Use two coats if necessary.
Step 5: Give it some leg!
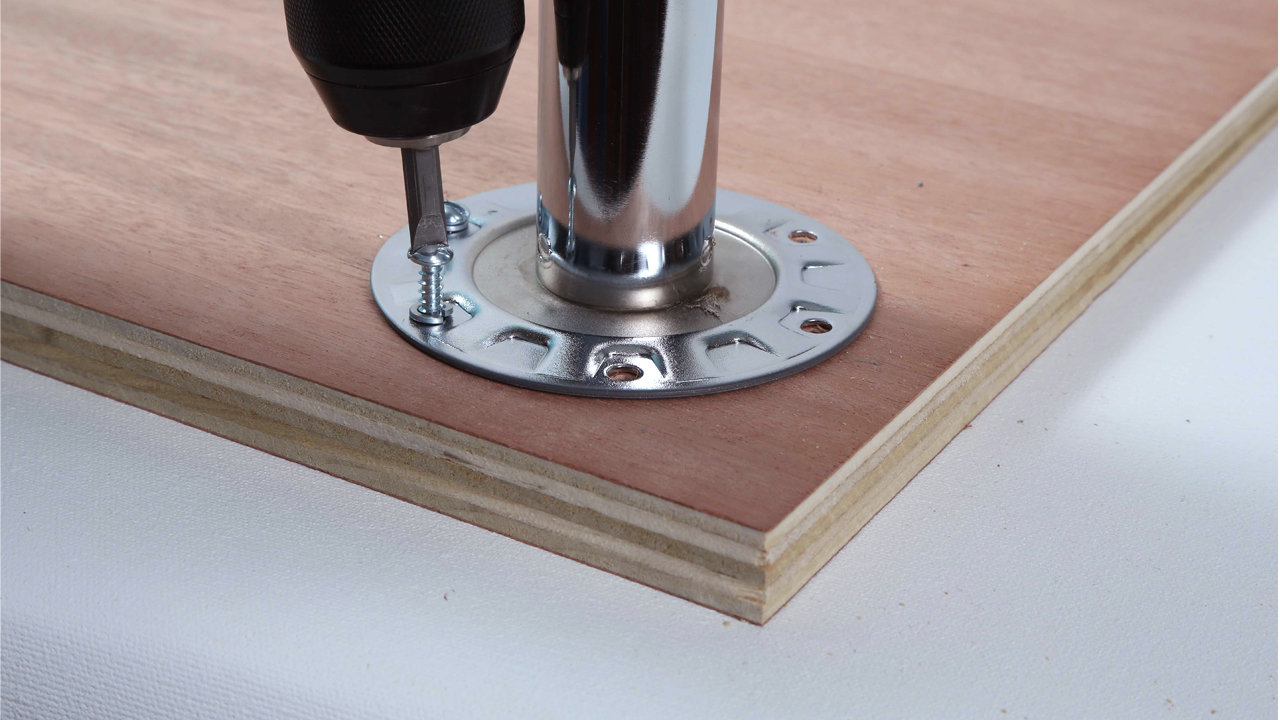
Once your paint is dry, it’s time to attach the legs. To mount the Slim Legs, align the mounting plate screw holes with the holes you drilled earlier.
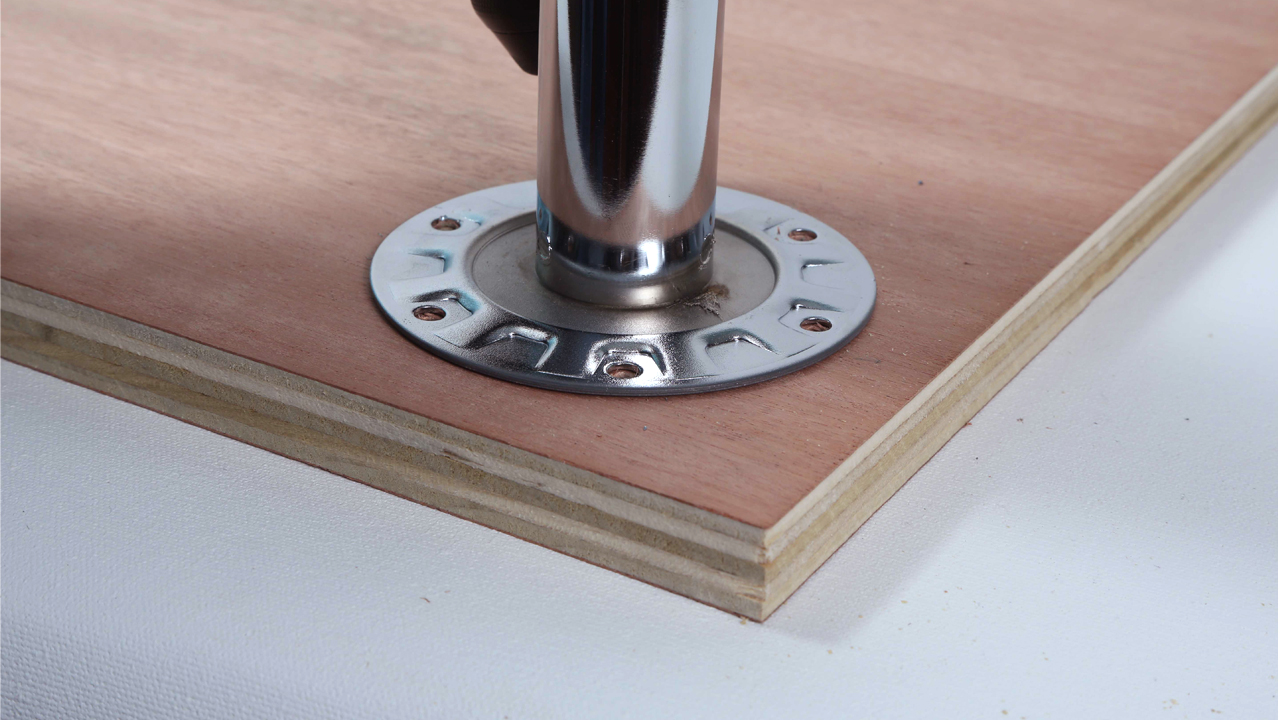
Place a lock washer over the hole and then screw in your screw. Do this for each hole on each leg until all 4 Slim Legs are attached.
Flip your table desk up right and get to work!
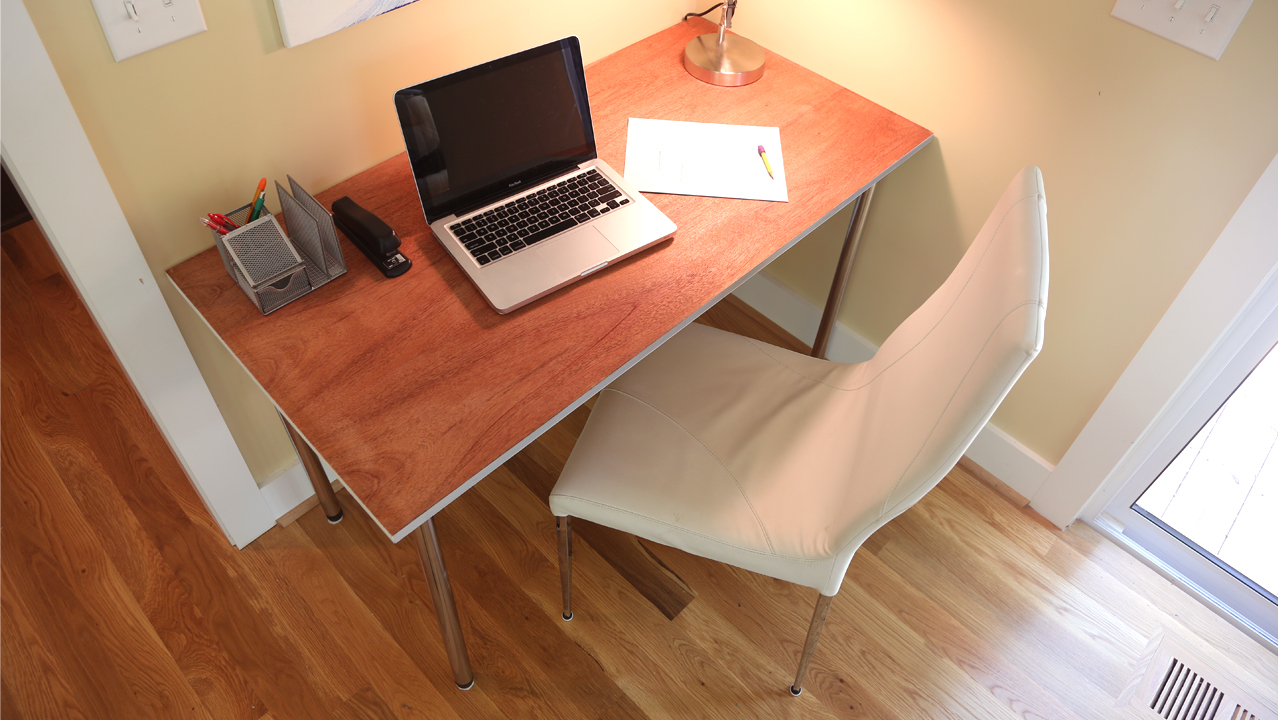
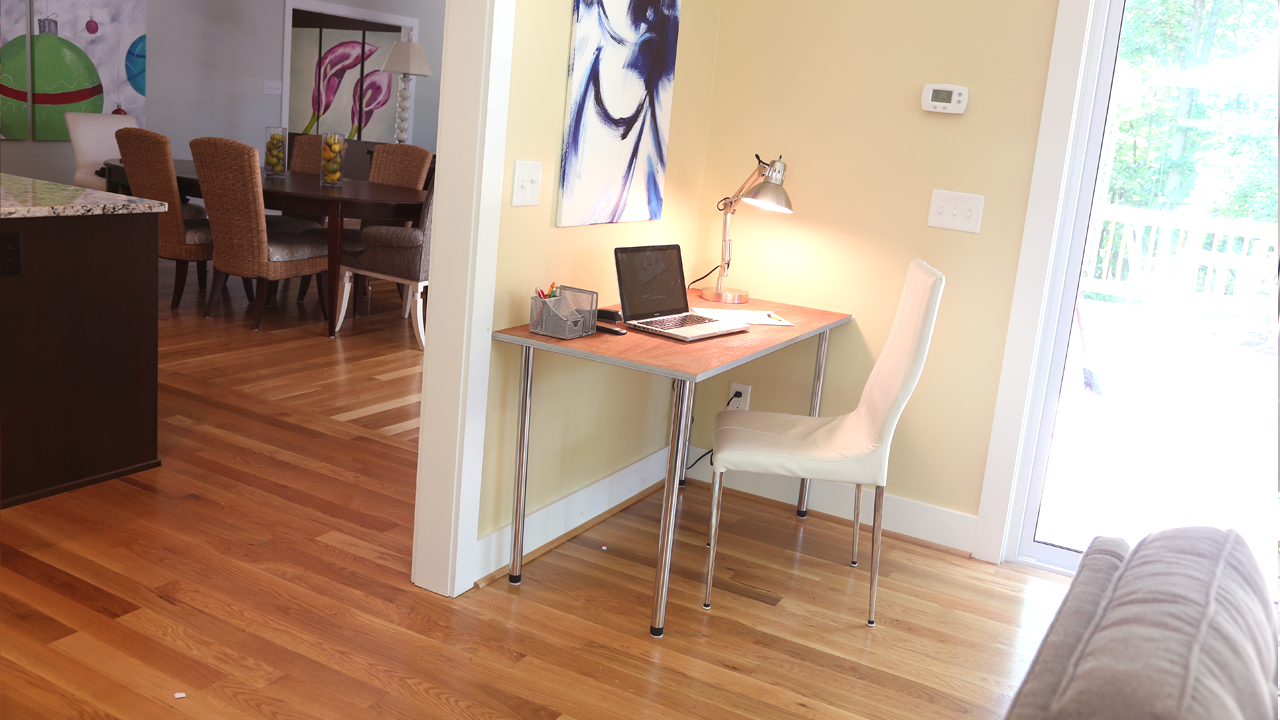
Now that you know how to build a simple table desk feel free to share the results with us! Send us a picture of your table desk and we may feature you on our site!
Please Note: If you wish to share the results of your Replacementtablelegs.com Table Desk on your own blog or website, please give credit where credit is due by adding our website link, http://www.replacementtablelegs.com/.